Tag: tech editing

  • Estimating Yardage

    Estimating Yardage

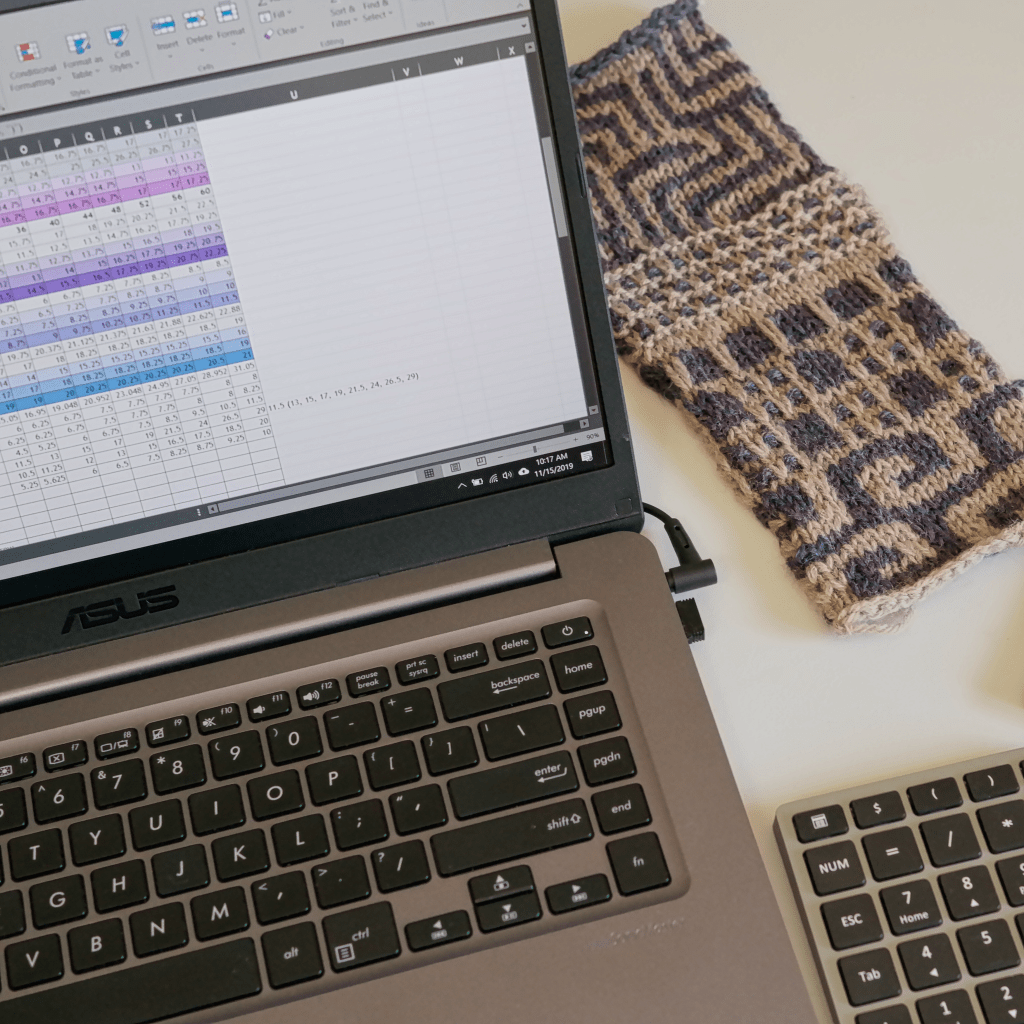
    Have you ever wondered how designers arrive at the recommended yardage listed in a pattern? Are you designing a sweater and wondering how to accurately list the yardage for sizes that haven’t been knit yet? Or maybe you are changing the gauge or length of a sweater you’re knitting and want to make sure you don’t run out of yarn? In all of these situations you can estimate how much yarn you’ll need using a swatch, a kitchen scale, the information from your yarn’s ball band, and a calculator or spreadsheet. This is how I do it.

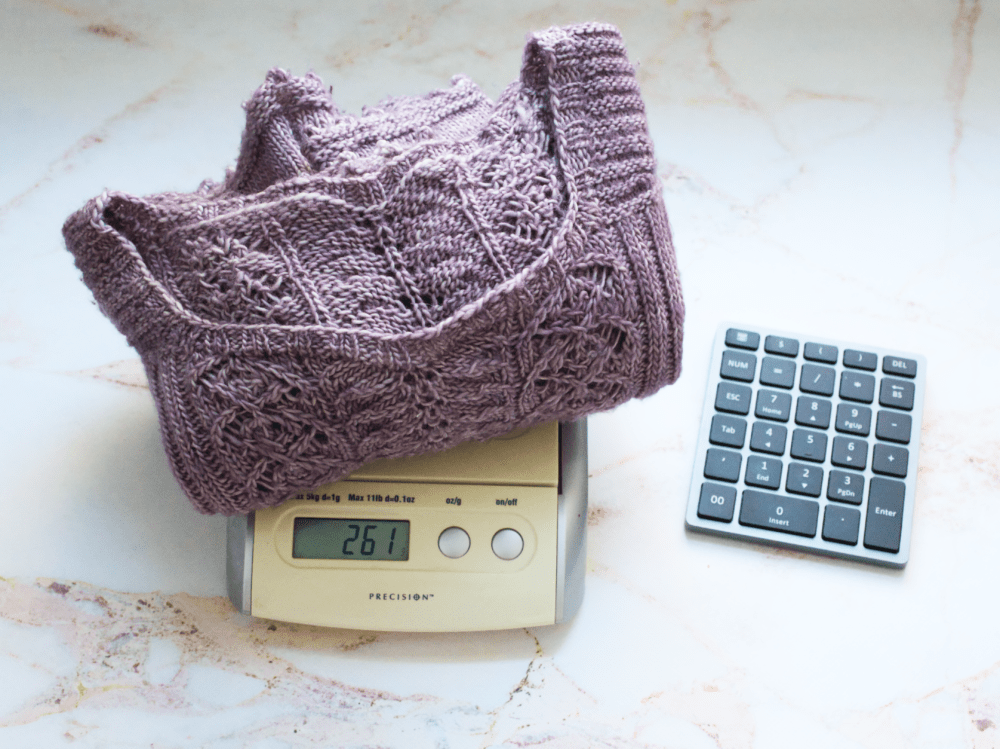
    First, determine how much yarn it takes to make a square inch or square centimeter of your knitted fabric. You can start with a large rectangular swatch or an entire garment. Weigh your swatch or sample using the kitchen scale. I like to use the weight in grams because it’s a smaller unit of measure than ounces, and ball or skein weights are usually given in grams.

    Next, determine the area of your swatch or sweater. If your swatch is a square or rectangle you can multiply the length by the height to determine the area. For example, if your swatch measures 8 x 8 inches the area is 64 inches. (If you’re more comfortable with metric go ahead and use centimeters for all measurements instead.) Divide the area by the weight. Let’s say your swatch weighs 10 grams. 64/10 = 6.4. It takes 1 gram of that particular yarn to make 6.4 square inches of that particular fabric. If you wanted to add 2 inches in length to a sweater with a circumference of 40 inches that’s 80 square inches. 80/6.4 = 12.5. You would need an additional 12.5 grams of yarn.

    To find the area of an entire sweater I reduce the design into simple shapes like rectangles and parallelograms as shown in the illustrations below, and multiply the length by the height to find the area of each shape.

    Drop Shoulder

    A line drawing of a drop shoulder sweater showing how the sleeves and body can be reduced to parallelograms and rectangles.

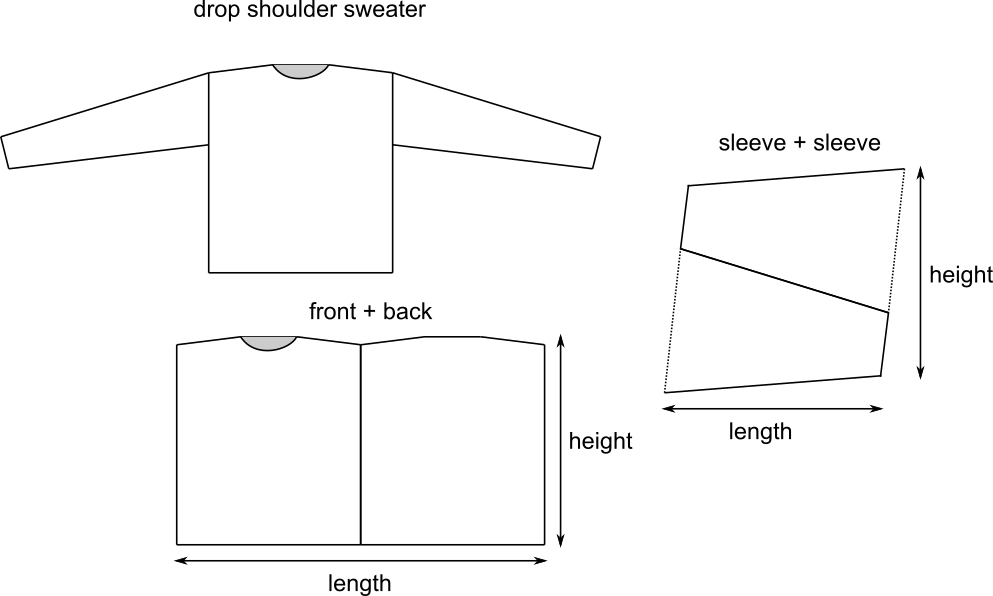
    A drop shoulder sweater is the simplest design for finding the area. The front and back are rectangles and there are two trapezoids for the sleeves. Add the length and width of the two sleeves together to make one parallelogram. If there is a collar it is probably a rectangle also, and you can add the length to the height to find its area.

    Raglan Yoke

    A line drawing of a raglan sweater showing how the yoke forms a square.

    If you take a raglan sweater off the needles at the underarm and lay it out flat you’ll see how the yoke can be simplified into a rectangle. Multiply the chest width by the upper sleeve width before the underarm cast on to find the area of the yoke. Unless it’s a deep V or a scoop neck I don’t subtract anything for the neck. This just adds a little buffer to the yardage. The area of the body below the underarm and the sleeves below the shoulder can be calculated in the same way as the drop shoulder sweater.

    Round Yoke

    A line drawing of a round yoke sweater showing how the yoke forms a circle, and how the sleeves, front, and back form rectangles when combined.

    For round yokes, first determine the radius of the yoke by adding half the neck width to the yoke depth, square the radius, then multiply by pi. This will give you the area of the yoke. The area of the sleeves and the body below the underarms will be the same as the raglan sweater.

    Set-In Sleeve

    A line drawing of a set-in sleeve sweater, and illustrations of all the sweater parts.

    A set-in sleeve sweater will have a few more shapes than the others. The sleeve caps can be treated as trapezoids the same way as the sleeves and added together to create one parallelogram. The body of the sweater below the underarms can still be treated as two rectangles, but if there is significant waist shaping you may wish to break the top and bottom into trapezoids and add them together. The yoke can also be treated as a trapezoid, and adding the front and back together will make a parallelogram.

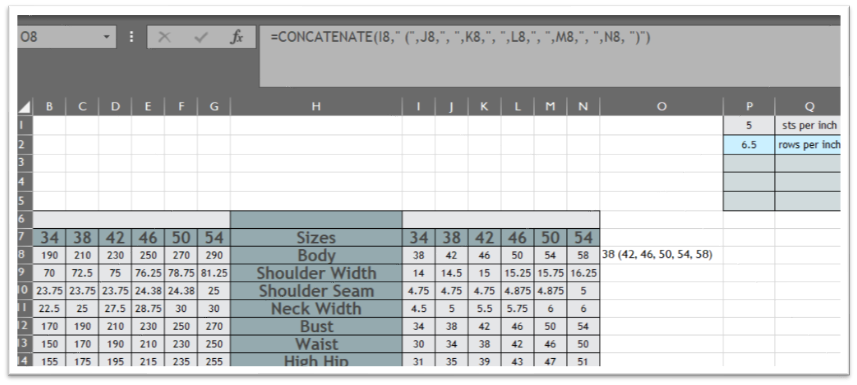
    After you have determined the area of your sample you can find how many grams of your yarn it takes to make 1 square inch of your fabric by dividing the area of the sample by the weight of the sample. You can then multiply the grams per square inch by the total area of every other size in your pattern. This will tell you how much of that particular yarn it takes to make each size by weight, but you should also convert the weight into yards to make the estimate useful to knitters who want to use a different yarn.

    Using the information from the ball band of your sample yarn, divide the weight of one skein by the yards per skein to find the yards per gram, then multiply the yards per gram by the weight of each size. This will give you the yardage needed for each size. You can also estimate the number of skeins needed for each size by dividing the total weight by the weight of one skein and rounding up to the nearest whole number.

    You can see from the illustrations above that the area measurements are not exact, and each knitter’s tension will affect the amount of yarn used also. These are only estimates, but you want to be sure that your knitters will not run out of yarn before completing their projects, so it is a good idea to add a buffer to the recommended yardage, which is usually 10%, but could be more or less depending on the design.

    Estimating yardage is just one of the tech editing services I offer. Yardage estimates are included with every grading job I do, but I can also check your yardage estimates or calculate the yardage for you when I tech edit your pattern. Just let me know that’s a service you’re interested in and tell me the size and weight of your sample. I would love to know what you think of this method of estimating yardage in the comments!

    Thank you for knitting!

  • How To Streamline Your Pattern Writing Process and Save Money On Tech Editing

    How To Streamline Your Pattern Writing Process and Save Money On Tech Editing

    I’ve recently been asked for advice on how to produce more patterns faster, and how to keep tech editing costs down when a designer is just starting out. Below is a list of the things that have worked for me and other designers. There is also a list of resources at the end of this post. If you have specific questions about a pattern you’re writing or my tech editing services you can always email me using the form on my tech editing page. I am happy to answer questions!

    The Beginner's Guide to Writing Knitting Patterns book cover photo

    First, buy this book. If you already own it, read it! And refer to it whenever you have questions about pattern writing. There’s a handy index in the back, and the book addresses every aspect of pattern writing, with resources listed for topics that aren’t covered in-depth. I use it as a reference for tech editing, and for writing my own patterns. There are dozens of books about knit design, but this is the only book solely about pattern writing.

    Create A Style Sheet

    I talked about how to create your own style sheet in this post. It does take some extra work, but having a guide to follow when you write your patterns, and for your tech editor to refer to when they check your patterns, will improve consistency and save time. Most patterns will contain the same categories of information, so also setting up a pattern template with the headers you use and the basic layout of your pattern will allow you to fill in the blanks when you’re writing and help to ensure that all of the necessary information is included.

    Copy And Paste

    Your style sheet should include a list of abbreviations and commonly used phrases that you can copy and paste into your pattern. This will save you time typing and ensure consistency within your pattern catalog. If the same actions are repeated in the pattern, you can copy and paste the directions into each section where they are used. If something is done the same way it should be written the same way. Different phrasing is a clue to knitters that something is done differently, which can be confusing if it’s not.

    A picture of an excel spreadsheet showing the concatenate function
=CONCATENATE(I8," (",J8,", ,"K8,", ,"L8,", ,"M8,", ,"N8, ")")
    Cell O8 is the result of the CONCATENATE function shown in the formula bar.

    If you write multi-sized patterns you should copy and paste the numbers into your pattern using excel to avoid transcription errors. This can be a little tricky because the numbers won’t automatically be formatted the way you write them in your pattern. I use the CONCATENATE function to format my numbers with commas and parentheses in excel. I then copy and paste using the special-keep text only paste function to insert the formatted numbers into my document.

    Make Sure Your Pattern Is Complete

    The pattern information page is where I see things left out the most. Have you included needle size and length? Stitch and row gauge? Are all of the abbreviations listed and defined? Did you adjust the measurements to reflect the actual stitch counts? Your tech editor can’t check it if it’s not there, so be sure to include everything that will be included in the final pattern in the draft you send them.

    Photos are also important and often left out. Close-ups of stitch patterns and shaping details can be very helpful in illustrating instructions. Even if you haven’t done the final layout and added the best photos to the pattern, include a few photos when you send the pattern to your editor. They don’t need to be perfect, but they should represent what the piece looks like.

    Check Your Work

    Before you send your pattern to a tech editor let it rest for at least a day, maybe more, then check the pattern yourself. Setup a spreadsheet and check all of the numbers in your pattern. We all know that you can’t accurately edit your own work because you will see what’s supposed to be there, not what you actually wrote. That does not mean you shouldn’t edit your own work at all, just that you should not be the only editor. Having someone else look over your pattern with a critical eye, especially a professional tech editor, is a crucial step in ensuring that your pattern is as error-free as possible.

    Just Ask

    If you’re having difficulty writing part of your pattern there are designer forums on Ravelry and Facebook where you can ask questions and get opinions from other designers. Test knitters are invaluable for making sure that a pattern is easily understood. You can also ask your TE to recommend resources for help with specific issues, or to pay special attention to something you had difficulty with while writing.

    Resources

    Marnie Maclean’s pattern writing tutorials

    Budding Designers Ravelry Group

    Designers Ravelry Group

    The Tech Editor Hub Facebook Group

    Knit Designers On FB Facebook Group

    Craft Yarn Council Standards And Guidelines

    Thank you for knitting!